Campfire Cooking 101: A Beginner’s Guide to Delicious Outdoor Meals
- Cook on Coals, Not Flames: Direct yellow flames burn food outside while leaving the center raw; glowing embers deliver consistent, radiant heat.
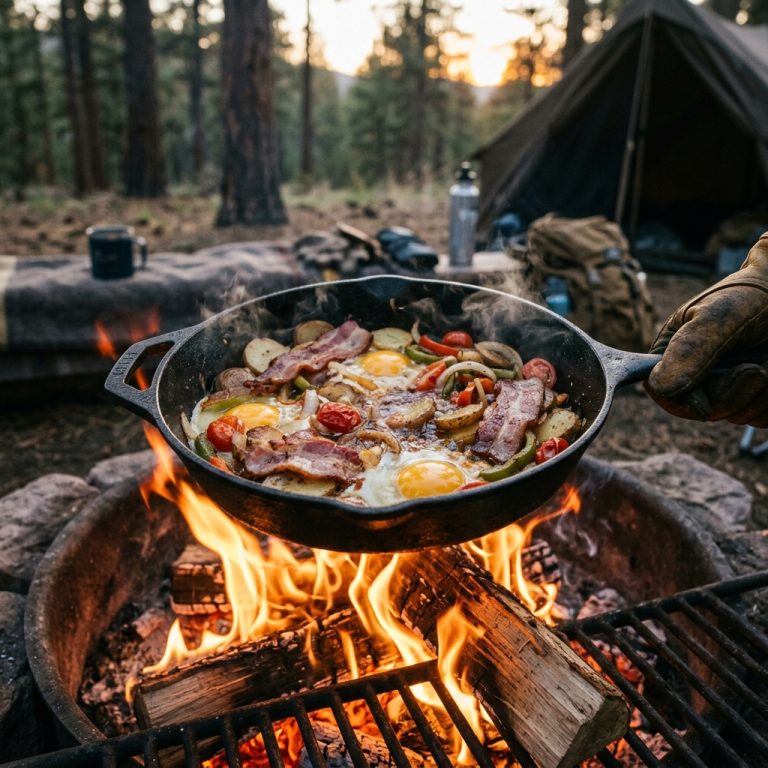
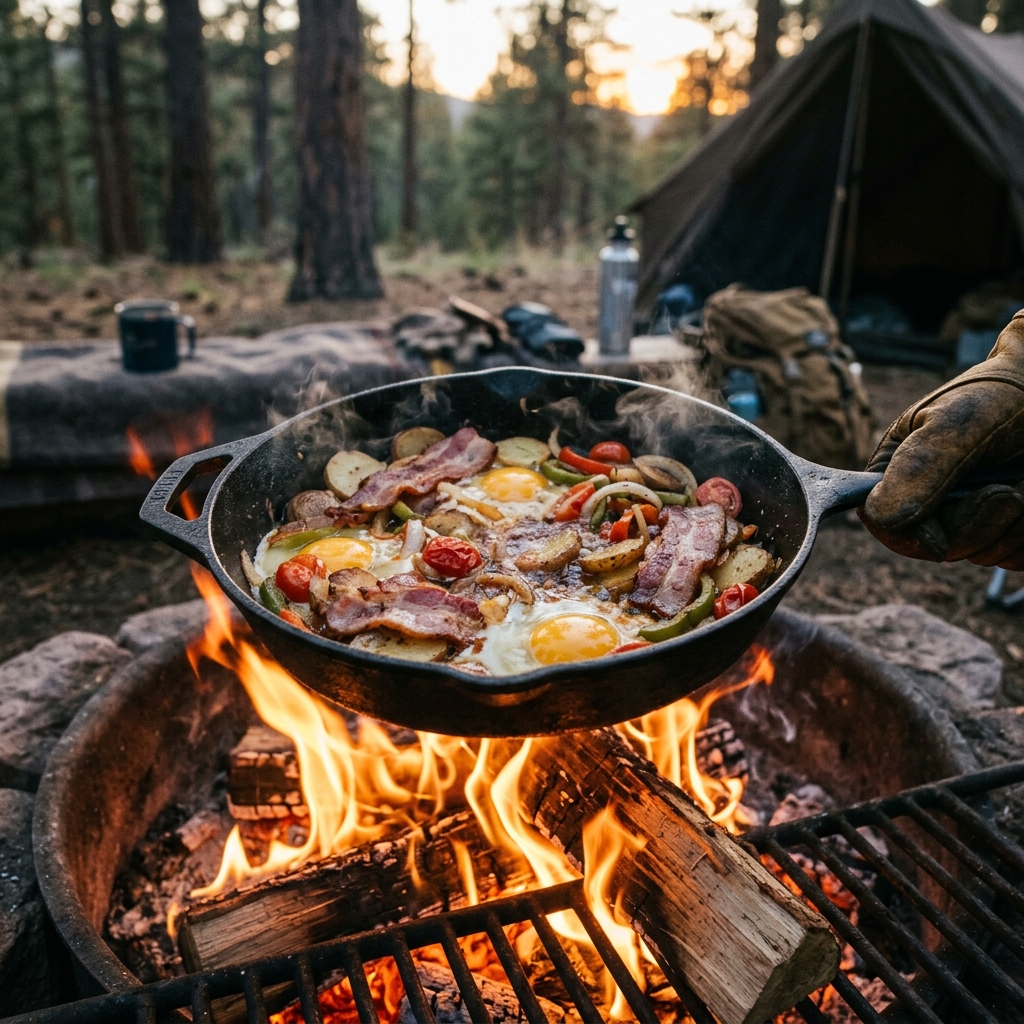
- Cast Iron is King: Heavy skillet cooking provides even heat distribution and naturally non-stick searing.
- Prep Ahead at Home: Chop all vegetables, pre-mix sauces, and marinate proteins before packing your cooler.
There is nothing quite like the crackle of wood and the aroma of a hearty meal sizzling over a wilderness fire after a full day on the trail. But for beginners, cooking over wood often results in charred sausages and soot-covered pans. With a few foundational techniques, you can turn any campfire into a gourmet outdoor kitchen.
1. The Golden Rule: Coals Over Flames
The single most common mistake beginner outdoor cooks make is placing food directly onto roaring open flames. High flames deposit thick black soot and burn sugars instantly. Master the two-zone fire setup:
Build the Feeder Fire
Maintain your active log fire on one side of the fire pit using seasoned hardwood (oak, hickory, maple) to continuously produce deep, glowing coals.
Rake Hot Embers to the Cooking Zone
Using a long fire poker or shovel, rake a consistent 2-to-3-inch bed of hot embers to the opposite side of the pit beneath your cooking grate.
Adjust Height & Temperature Zones
Establish high-heat (thick coal bed) and low-heat/simmer (thin coal dusting) areas across your grate so you can sear steaks and warm Dutch oven sides simultaneously.
Hold your open palm safely 5 inches above your coal grate: If you can hold it for 2-3 seconds, it is High Heat (~450°F). 4-5 seconds is Medium Heat (~350°F). 6-8 seconds is Gentle Low Heat (~250°F).
2. Essential Campfire Cooking Gear Comparison
Equipping your camp kitchen with the right cookware transforms mealtime:
| Cookware Type | Best For | Durability | Care & Maintenance |
|---|---|---|---|
| Cast Iron Skillet (10″-12″) | Steaks, bacon, eggs, searing, pan bread | Indestructible | Wipe clean, light oil coat; never submerge in soapy water |
| Camp Dutch Oven (with Rimmed Lid) | Stews, cobblers, roasts, artisan bread | Lifetime durability | Lid holds hot coals on top for true oven baking |
| Heavy-Duty Tin Foil Packets | Foil veggies, fish, garlic butter potatoes | Single-use simplicity | Zero dishes to wash; double-wrap to prevent puncturing |
| Adjustable Camp Grill Grate | Direct coal grilling & pot support | High (Steel/Iron) | Brush clean with steel brush while still warm |
Never cook directly on river rocks—trapped moisture can cause them to violently crack or explode under intense heat. Always hang food or store cooler in a bear-resistant vehicle/locker immediately after eating.
3. Foil Packet Cooking: The Zero-Cleanup Secret
If you dread washing greasy pans in cold camp water, foil packet meals are your best friend:
Why We Love Foil Cooking
- Virtually zero cleanup—eat right out of the packet.
- Traps moisture and steam, keeping meats tender and juicy.
- Fully customizable for picky eaters and dietary restrictions.
Tips for Best Results
- Always use heavy-duty aluminum foil (standard household foil tears easily).
- Add a tablespoon of butter or olive oil to prevent sticking.
- Turn with long heat-resistant tongs every 6-8 minutes.
Delicious Memories Around the Fire
Great campfire meals aren’t about complicated restaurant recipes; they’re about patience, quality ingredients, and managing your heat. Start with a solid 10-inch seasoned cast iron skillet and a few foil packets, and you will quickly become the favorite chef in camp.